 Mechatronics home
Send Feedback
Mechatronics home
Send Feedback
 Print
Print
|
|
|
|
|
Performing Osmoscan
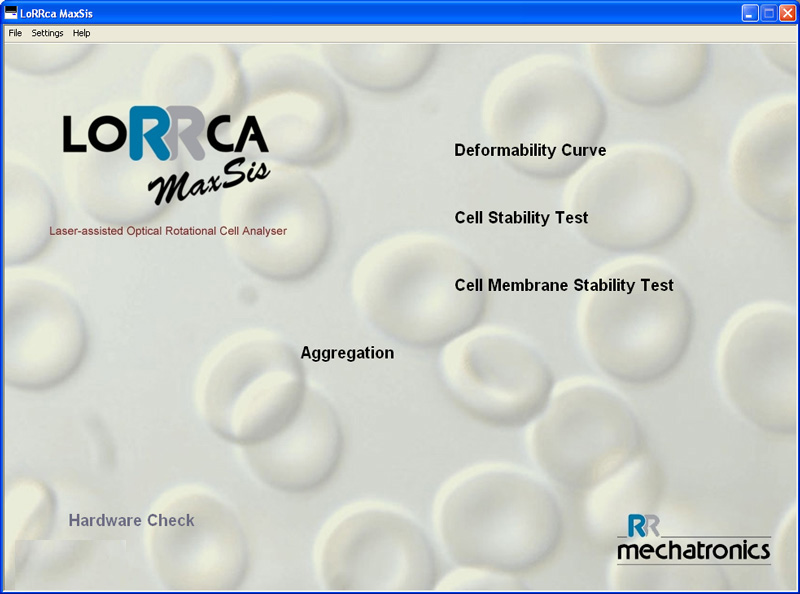
Start software
In case of starting Osmoscan measurements after other tests: Perform a prime step with corresponding PVP first:
- Check that all tubes are connected correctly to the high PVP, low PVP, water and waste bottles
- Select "Hardware check" and "LoRRca IO".
- Place a sample tube with basic PVP (QRR 030901) on needle position.
- Move the sample needle to the bottom of the tube.
- Select the "Prime all" button.
Check that both low and high osmolar PVP are pumped, indicated by different click-noises, moving air-fluid meniscus (eventually after the introduction of an air bubble).
Check the sample feeding through the needle after introduction of an air bubble.
In case of a problem check whether all tubing and connections have a free passage and are not folded or clogged. - Remove (priming) tube from the needle position.
- Return to main screen
In case of starting the day with Osmoscan: Prepare a blood sample Osmoscan.
In This Section |
See Also |
Mechatronics home
Send Feedback
Print
|
Page last reviewed: 28/08/2013 14:48:03 (Version: 5.00 MRN-231-EN) ©2010 Mechatronics BV. |