 Manual home
Send Feedback
Manual home
Send Feedback
 Print
Print
|
|
|
|
|
Pre-test preparations
Start-up
- Switch on Laptop/PC and Lorrca.
- Open the nitrogen cylinder.
- Lower de Bob into de Cup (to start accommodating to a 37⁰C temperature)
- Start software
Recommendation: Run the 'Self-check' (weekly is set as default): - The self-check takes around 10 minutes.
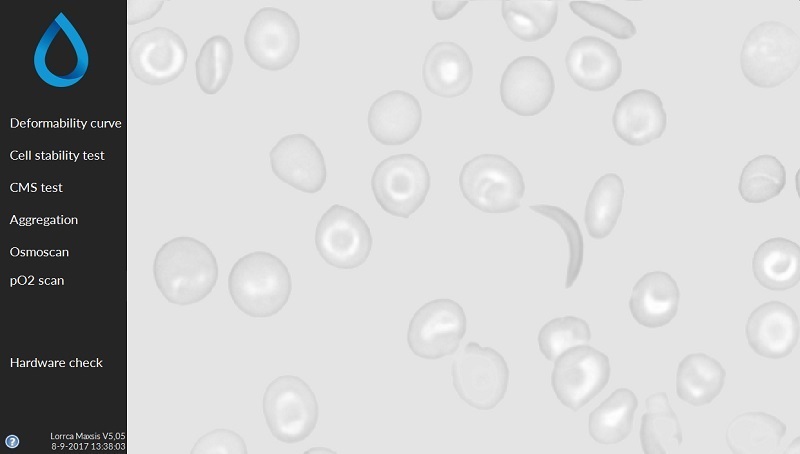
If the Self Check fails: the pO2 scan will be greyed out in the main menu (screenshot)
All calibration results are stored in C:Lorrca MaxSis\SelfCheck_V01.txt
Steps of the Self-check are:
Display sensor batch number: 200123-001 (example)
- Step 1: Temperature check: OK (37,0⁰C )
- Step 2: Flow check: OK
- Step 3: Deoxygenate check: OK (down to < 0.3 % of ambient saturation level)
- Step 4: Reoxygenate check: OK (between 97% and 103% of ambient saturation level)
Verify during the deoxygenation steps (2 and 3) that the N2 flow readout above the bob is at 0.5 liter/minute. Adjust if necessary.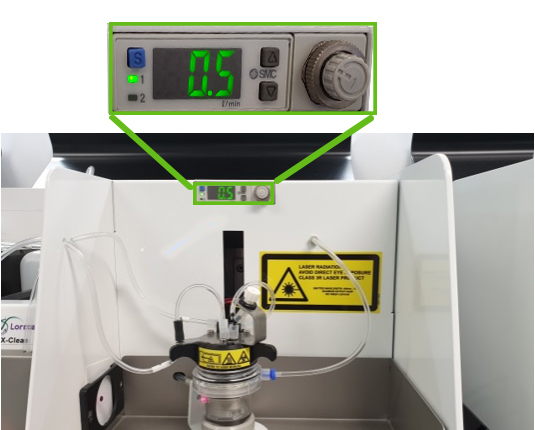
- If the Self-check is canceled, the pO2 sensor is not calibrated, pO2 scans may not be correct.
- In case the Self-check fails, the reason may be:
Too cold; the instrument or the DI water may be too cold for a correct verification. If this is the case it will pass the test on the second try.
Alignment; visually verify that the sensor spot correctly stops at right in front of the fiber-optic.
(In Hardware check screen, Lorrca IO, set Cup velocity to 1 rps and motor mode to run home)
Damaged; verify that the sensor spot is not damaged by rubbing off the black silicone backing.
Expired; the sensor spot may have expired, try a new sensor spot to see whether this one passes the test.
Run the Self-check again. - Perform a 'test run' with any (old) blood sample
- Perform the cleaning procedure after each run.
See Also |
Mechatronics home
Send Feedback
Print
|
Page last reviewed: 13/04/2023 10:38:53 (Version: 5.08 (24-04-2023) MRN-231-EN) ©2022 RR Mechatronics |