 Manual home
Send Feedback
Manual home
Send Feedback
 Print
Print
|
|
|
|
|
First Start-up
Steady state
After switching on, the Lorrca Maxsis needs to warm up.
Osmoscan: 5 minutes
Oxygenscan: 1 hour (see also pO2 calibration chapter)
It is recommended to keep the instrument steady state within series of experiments.
Before the instrument can be operated, you have to carry out the following checks and procedures:
- Check that there are no strange objects (tools, for example) in the instrument.
|
|
|
|
|
|


|
|
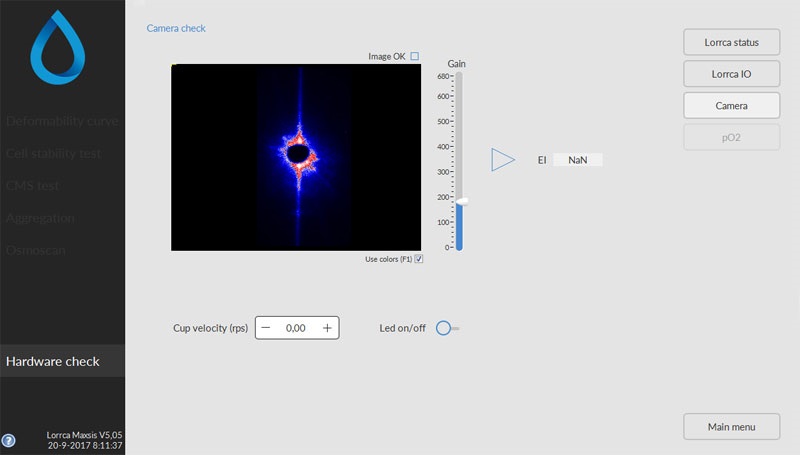
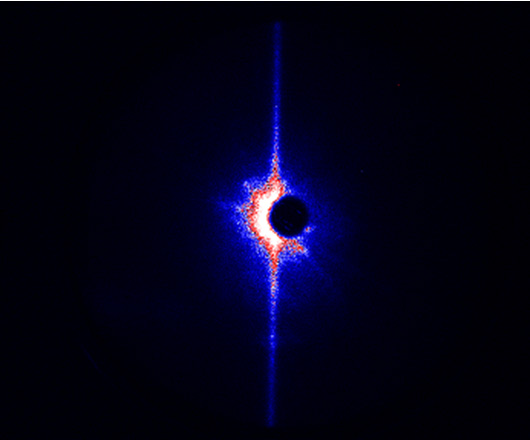
Alignment of the projection screen:
|
|
|
|
|
|
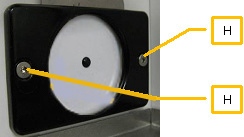
Dry BOB and CUP. Do not scratch the cup and do not touch the glass with your fingers to prevent staining! Pay attention to the hole in the BOB. |
|

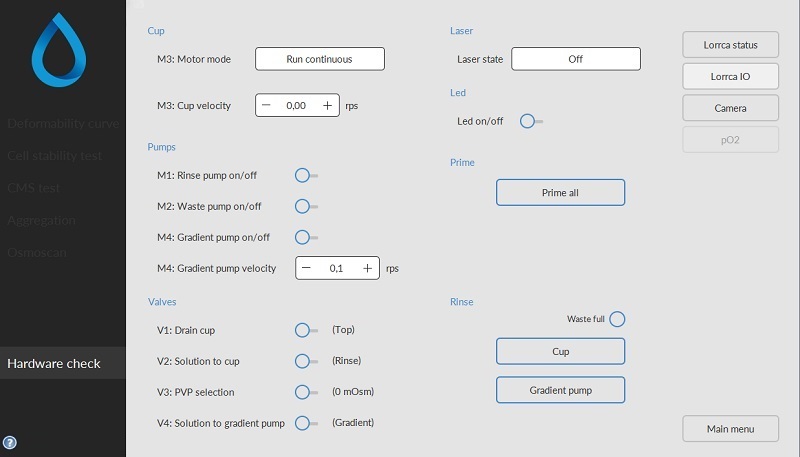
After this procedure, the instrument is in the start position for Osmoscan, for Oxygenscan additional steps are required, see Hardware pO2.
See Also |
Mechatronics home
Send Feedback
Print
|
Page last reviewed: 25/03/2021 15:15:24 (Version: 5.08 (24-04-2023) MRN-231-EN) ©2022 RR Mechatronics |