 Manual home
Send Feedback
Manual home
Send Feedback
 Print
Print
|
|
|
|
|
WI-403 Level 3 maintenance
Work instruction Number 403 |
|
Page 1 of 8 |
Purpose:: Level 3 maintenance |
Safety: Bio Hazard area |
|
Instrument: Starrsed ST |
Revision:: 003, 2019 |
NOTE: Chip card type S is required !
Prepare disinfectant: (if not already prepared).
This disinfectant is for cleaning of all external parts that are exposed to blood.
- Wipe the lower tube holder of the needle unit.
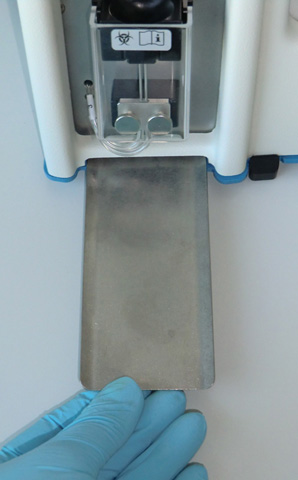
- Wipe the stainless steel drip plates below the pipette carousel and needle unit.

- In the Main menu use the function [End_of_day wash] .
- Check the system for leakage.
- Replace waste pump tube.
- Inspect sample needle condition:
Menu Service - Motor control - Needle M31 Press [ ARROW DOWN ] twice to expose the needle tip(s). If the tip(s) are worn, replace the needle. - Check sensors:
Menu Service - Next - Sensor Status
Blood sensor: value 110-160
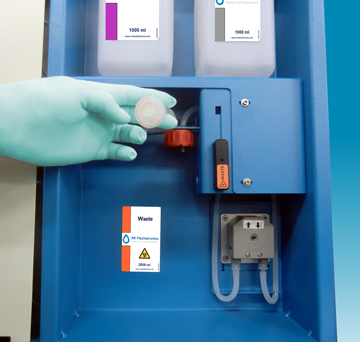
Measure head: value 40-60 - Replace disk filter
The disk filter QWLV040001 is the filter which can be found on the waste bottle.
Nozzle O-ring and pipette seal ring replacement
1.
|
|
2.
|
|
|
3. |
|
4. |
|
|
5.
|
|
6.
|
|
|
5. Clean Fill nozzle with hot water |
Note: Replace the flat pipette seal ring BANG030052 and / or replace the nozzle O-ring QWLV050016 |
|||
7. |
|
|||
Note: Check if all 5 O-rings QWLV050003 are in place and / or if applicable replace the O-rings QWLV050003 |
||||
8.
|
|
9.
|
|
|
10.
|
|
|||
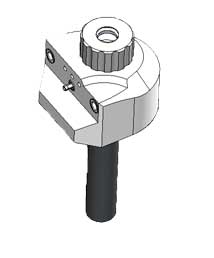
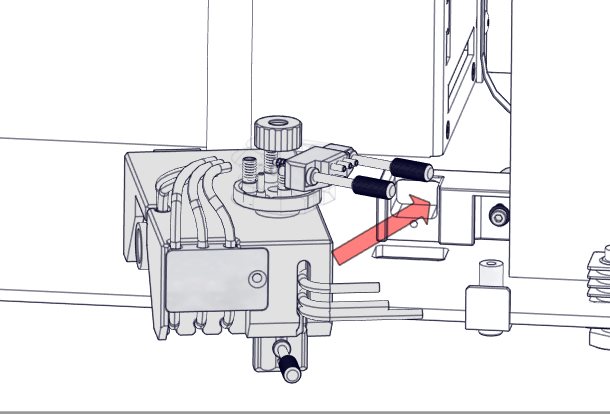

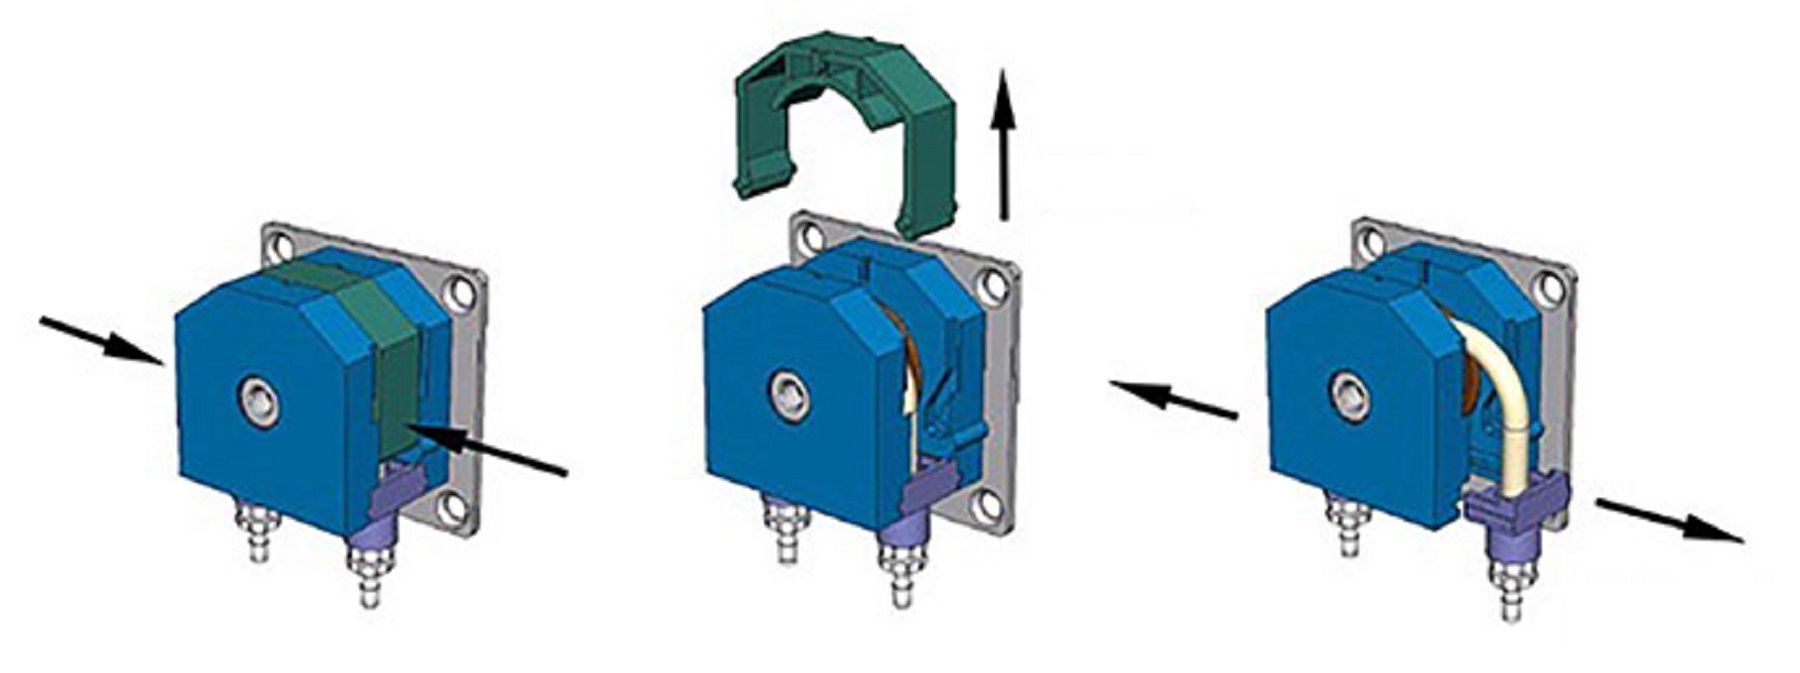
Replace Needle sealing block
(not applicable for single needle version)
Applicable for Double needle version
|
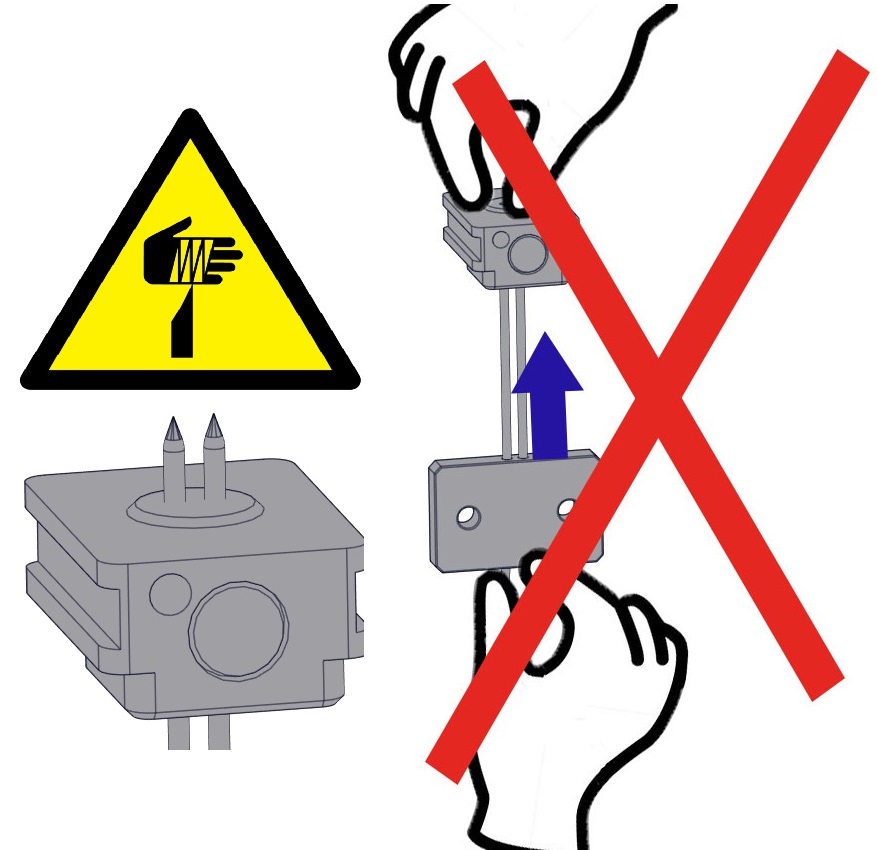
Be aware of sting danger !! |

Removal |
|
|
|
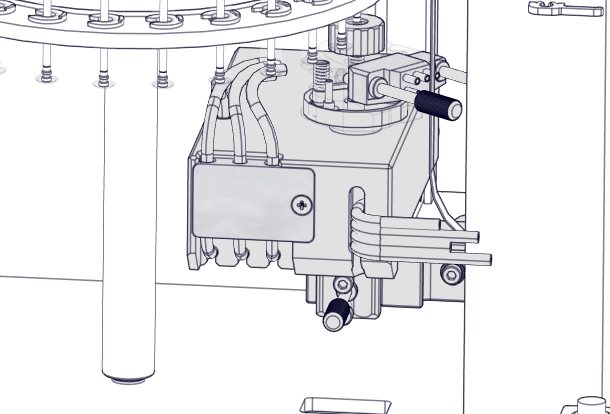
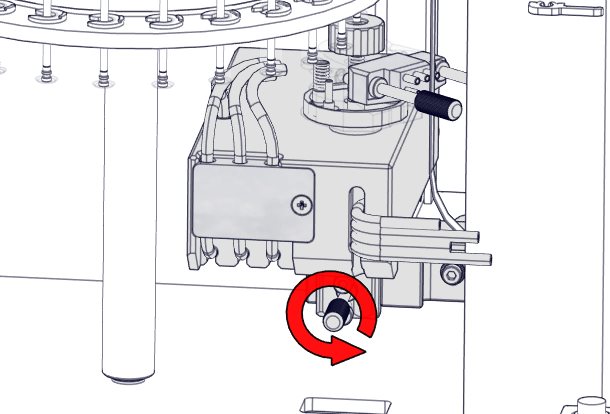
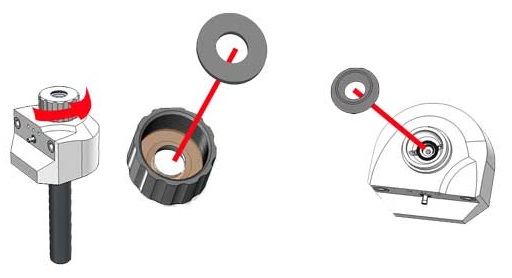
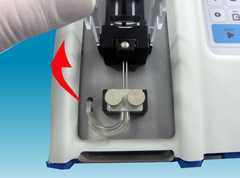
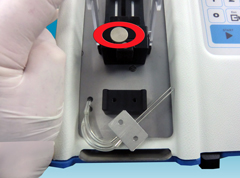
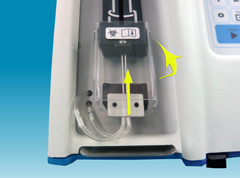
1. Open needle cover to get access to the needle. |
2. Remove both Knurled screws. |
|
|
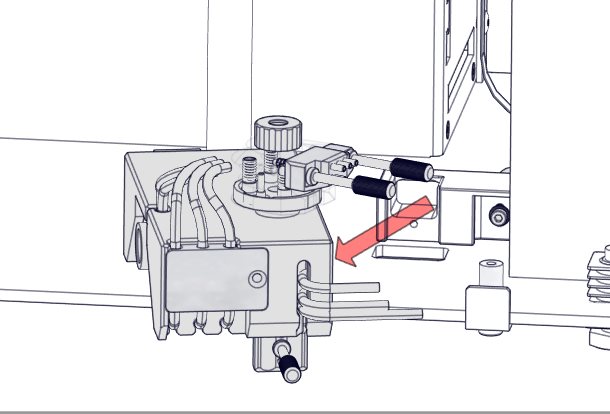
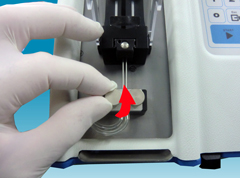
3. Push the needle down (friction possible) |
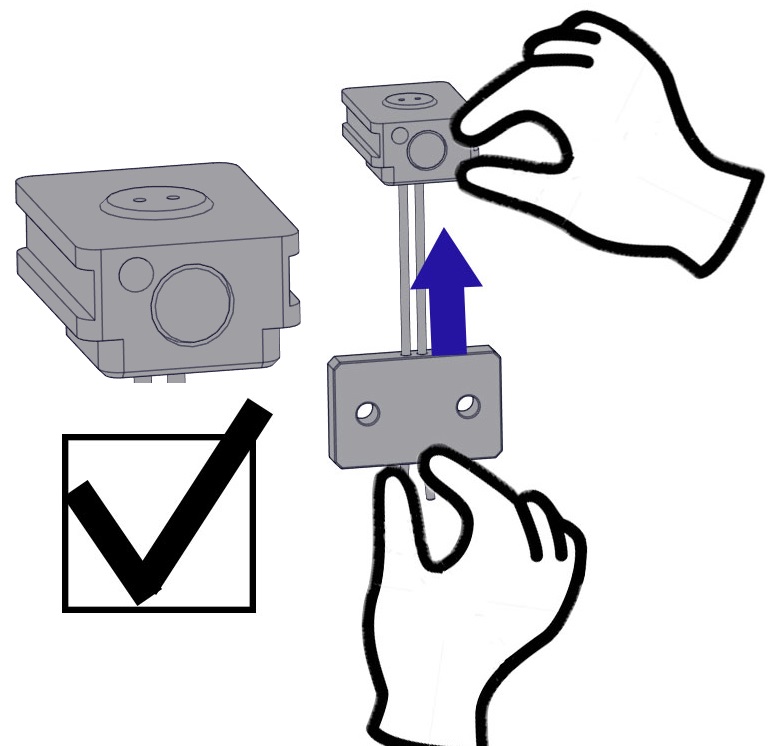
4. Place screw in needle sealing block BANG049002. |
|
|
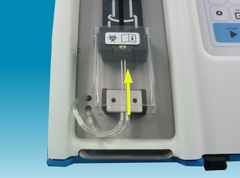
5. Pull needle sealing block out the needle guide block assembly. |
6. Remove screw |

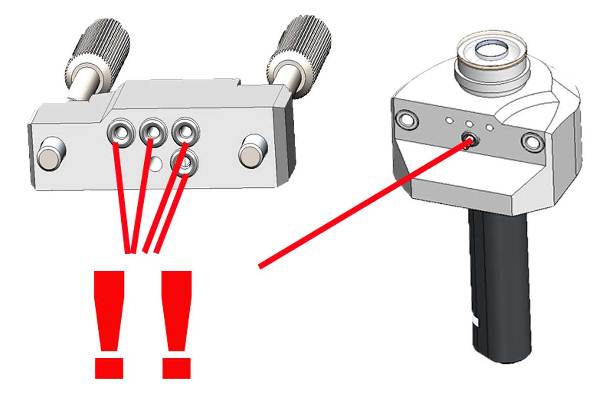
In case of replacement of needle: disconnect tubing
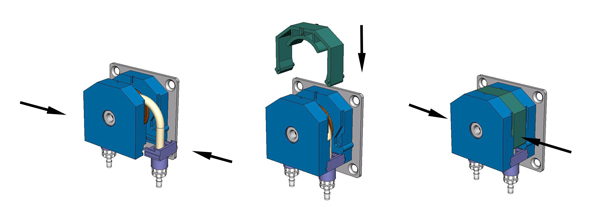
Place new Needle sealing block BANG049002 (and Needle assembly BANG049001 if needed).
In case of needle replacement: connect tubes on the new needle assembly
|
|
|
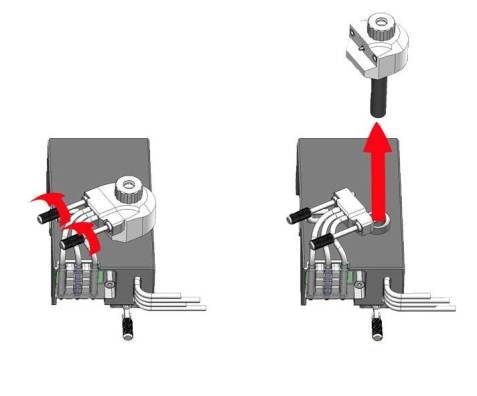
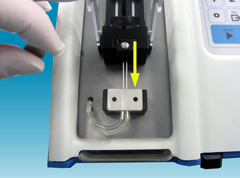
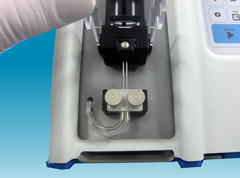
1. Stick the needle in the needle sealing block, the needle not completely through. |
2. Place the needle sealing block into the needle guide block. |
|
|
|
|
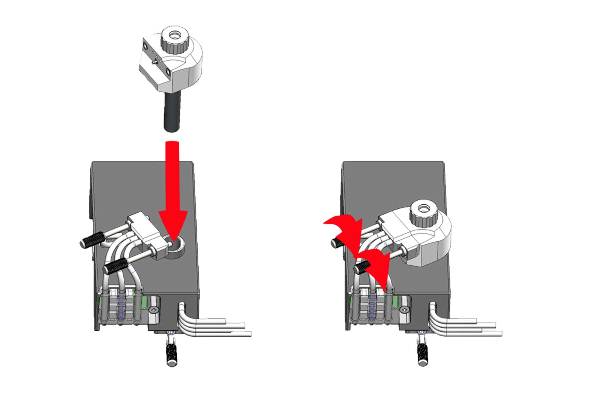
3. Push needle up till it is lined up to the mounting fix position. |
4. Place both Knurled screws |
|
|
6. After the assembling is finished, the needle need to be set into the correct position in the needle sealing block.
|
|
5. Replace Needle cover. |
||

 Mechatronics home
Send Feedback
Print
Mechatronics home
Send Feedback
Print
|
Page last reviewed: 09/03/2020 10:54:34 (Version: 1.15 (06-07-2022) MRN-144-EN) ©2022 RR Mechatronics |