Mechatronics home Send Feedback Print

Previous Topic

Next Topic

Book Contents

Book Index

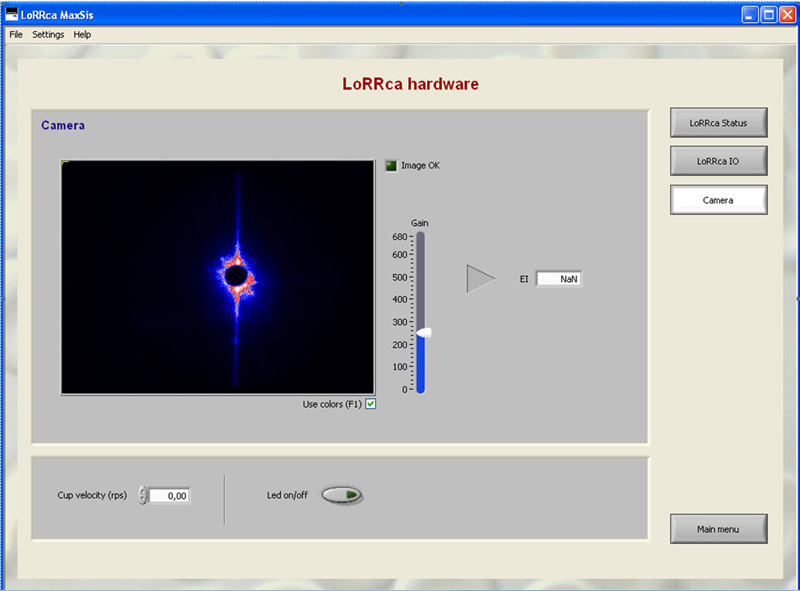
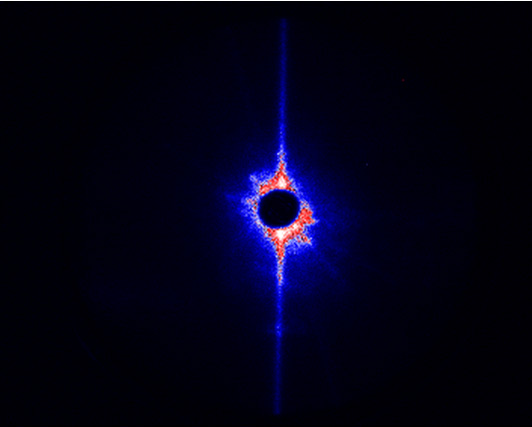
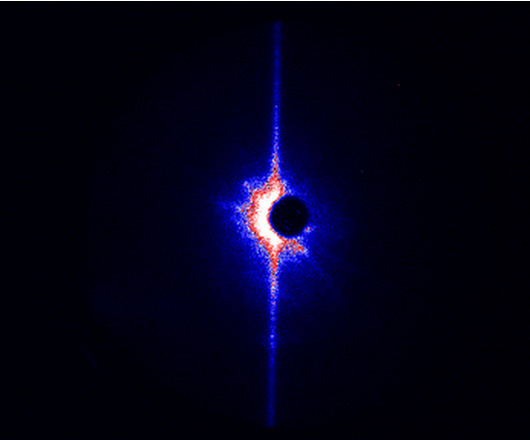
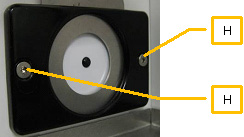
Adjusting projection screen

  • Switch ON the instrument.
  • Start-up the PC.
  • Choose LoRRca software program.
  • Select <Hardware check>.
  • Move the Bob down.

main_screen320x238

  • Choose <Camera>
  • Set camera gain at 250.
  • Close the hood.

HDW

  • Check the image:
    • OK: The instrument is now ready.

camera_alligned

  • Not OK: Misaligned
  • Check position of the projection screen.

camera_misalligned

camera_no_picture

  • For basic version choose <LoRRca IO><Rinse cup>.
    The tubes are being filled.
  • Dry BOB and CUP. Do not scratch the cup!
  • For Osmoscan version choose <LoRRca IO><Prime all>.
    The tubes are being filled.
  • Dry BOB and CUP. Do not scratch the cup!

hwc

Alignment of the projection screen:

  • Use the hexagon key 2mm to loosen the projection screen holder.


alignment_projection_screen


  • Align the projection screen until the black dot on the screen is aligned with the laser spot.
  • Tighten the screws of the projection screen holder.

camera_alligned

See Also

Adjustments and replacements

Adjusting camera for slides

Replace the main fuses

Waste and rinse pump tube replacements

Tubing replacements

Preparation for long time inactivity

To top of page Mechatronics home Send Feedback Print