Vacuum adjustment flow board

|
|
Filling speed adjustment
- Check the dilution adjustment is settled around 100% ± 10%
- Install the vacuum gauge at the T-junction between flow meter and the black orifice.
- Set the vacuum on -130 mBar by adjusting the vacuum regulator.
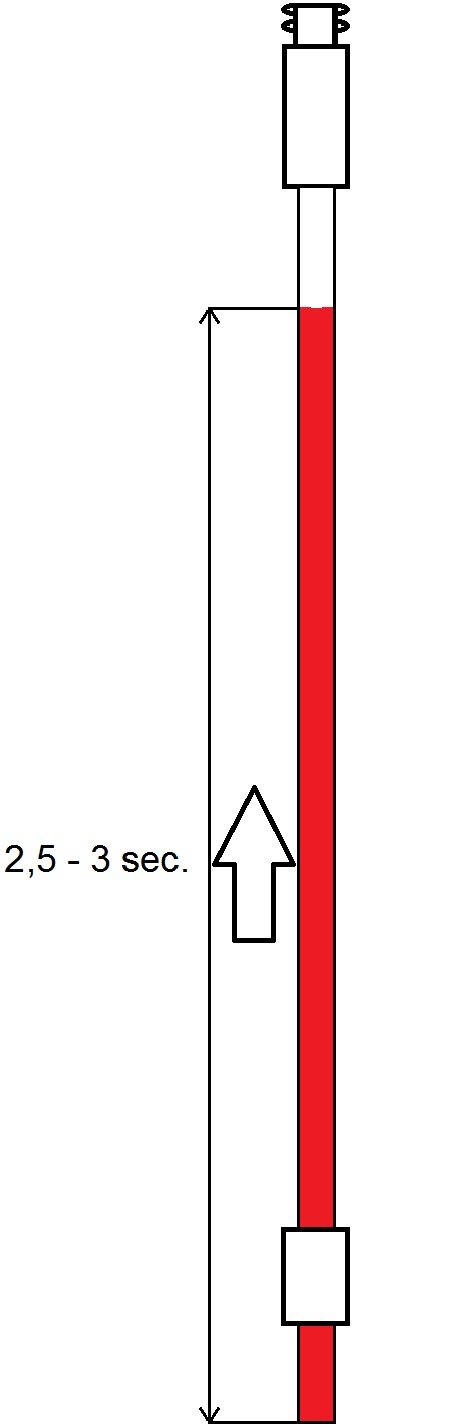
- Check with aspirating ± 10 fresh blood samples the average fill time of the pipettes. The ideal average fill time for a pipette is 2,5-3 seconds measured from entrance into the pipette until the fill-stop sensor.
Change the filling speed with the vacuum regulator.- When the aspiration speed is too slow, apply more vacuum by adjusting the vacuum regulator to a higher vacuum.
- When the aspiration speed is too fast, apply less vacuum by adjusting the vacuum regulator to a lower vacuum.
See also Block Diagram Vacuum flow regulation
|
If the average fill speed is 2,5-3 seconds:
- Place Kocher plyers to pinch at point A
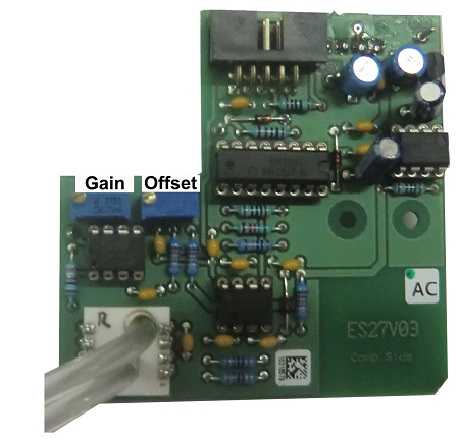
- Check if the flow value= 50 or adjust flow to 50 with the Offset potential meter
- Release the pinch valve
- Check with Menu options the values for Flow: between 0920-1020
- Check if abs is 320. Adjust with the gain potential meter. Depending on local circumstances this value could be adjusted to create an optimal aspiration.
- Place plyers again on point A
- Check if the flow value = 50, if not adjust flow to 50 with the Offset potential meter
- Remove plyers and vacuum gauge
|
|
Check the dilution adjustment is settled around 100% ± 10%
Reference list mbar & absolute values
In mbar
|
100
|
110
|
120
|
130
|
ABS
|
0300
|
0340
|
0360
|
0390
|
|
 Manual home
 Print
Print