 Manual home
Send Feedback
Manual home
Send Feedback
 Print
Print
|
|
|
|
|
WI-232 Weekly maintenance
Work instruction Number 232 |
|
Page 1 of 4 |
Purpose: Weekly maintenance |
Safety: Bio Hazard area |
|
Instrument: Starrsed TL |
Revision: 002, 2019 |
Change instrument status in the LAS from "online" to "offline"
Clean Fill nozzle
1. |
|
2. |
|
3. |
|
|||||
4. |
Clean fill nozzle The use of a toothbrush and detergent is recommended.
|
|||||||||
5. |
|
6. |
|
7. |
|
|||||
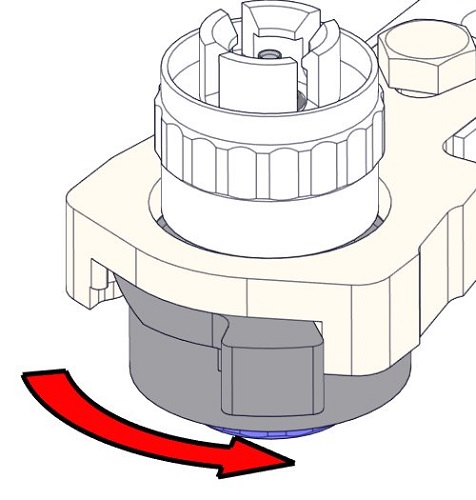
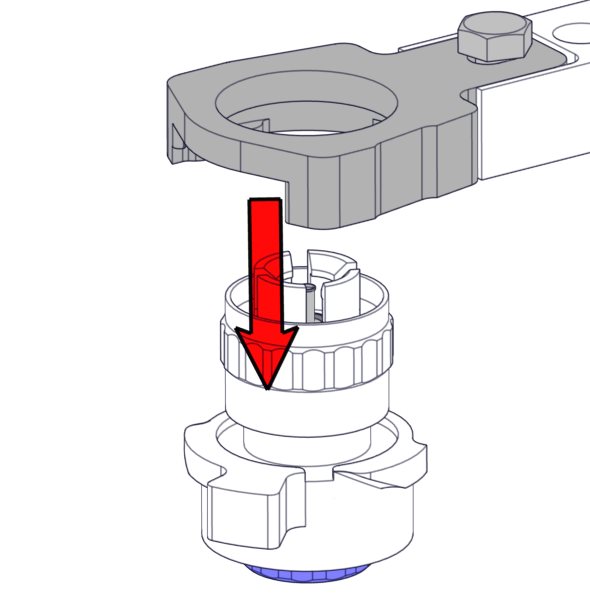

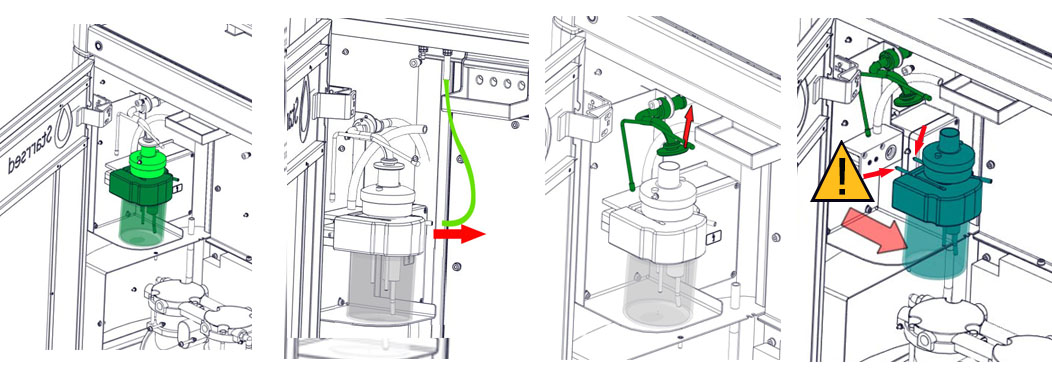
Clean Liquid separator
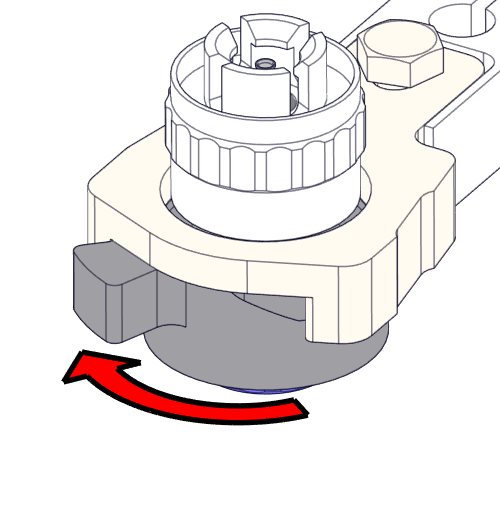
Removing
A. Clean all parts with hot water and a brush.
B. Use some acid free vaseline on the screw-thread of the glass jar, the top rim of the glass jar, the O-ring for the HEPA filter and the black PVC pipe on the back.
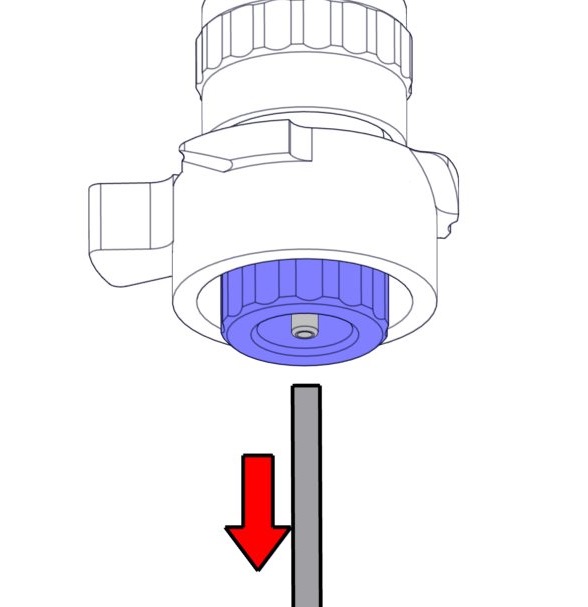
Cleaning
C. If applicable replace the bacterial HEPA filter (For Maintenance Level 4: Exchange filter QWLV040002)
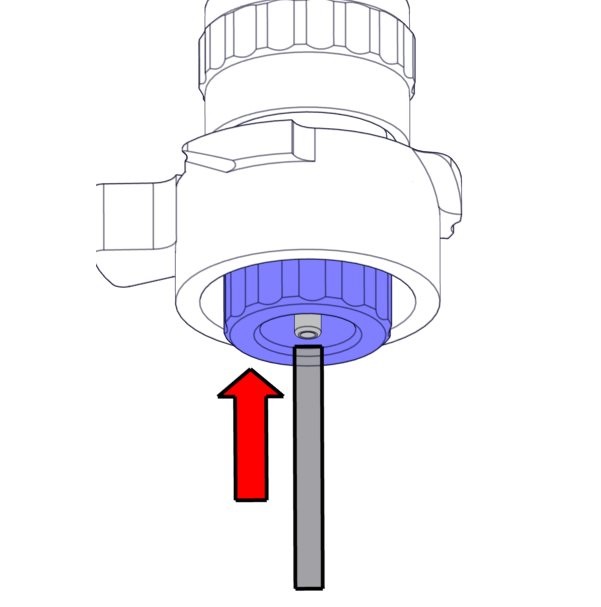
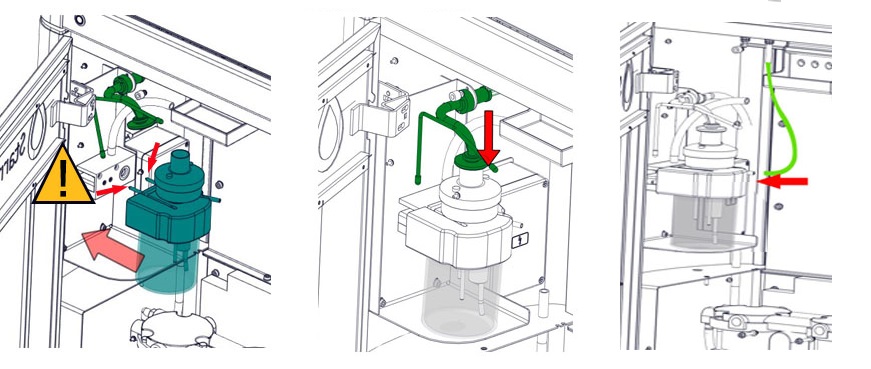
Replacing
Check sensorsVacuum pressure check
Fill Stop sensor check
Diluter Start sensor check
Measure sensor check
Temperature sensor check
Diluent flow sensor check
Separator check
Liquid sensor check
|
Check and clean instrument
Prepare disinfectant: (if not already prepared).
This disinfectant is for cleaning of all external parts that are exposed to blood.
- Go to tab [Maintenance] and perform the [End-of-day wash] procedure.
- Open cover and front doors.
- Check system for leakage.
- Check drip trays under pump assembly and needle assembly .
- Open carousel plate and inspect the peristaltic pump tubes and connections for leaks.
- Check tubing from the syringe for trapped air bubbles.
- Check Diluent syringe for trapped air bubbles.
- If trapped air bubbles are found, go to tab [Maintenance], click button [Prime / Clean] and perform the [Prime Diluent] function.
- Clean needle top with disinfectant.
- Check if the suction tube in the guide fork is free of clogging, remove clogging if needed.
- Wipe stainless steel plates below the pipettes with disinfectant.
- Close cover/front doors and activate the instrument in the LAS.
Mechatronics home
Send Feedback
Print
|
Page last reviewed: 13/11/2019 12:13:03 (Version: 1.10 (05-09-2022) MRN-174_2-EN) ©2022 RR Mechatronics |