Manual home Send Feedback Print

Previous Topic

Next Topic

Book Contents

Book Index

Adjusting projection screen

  • Switch ON the instrument.
  • Start-up the PC.
  • Choose LoRRca software program.
  • Select <Hardware check>.
  • Move the Bob down.

main_screen320x238

  • Choose <Camera>
  • Set camera gain at 250.
  • Close the hood.

HDW

  • Check the image:
    • OK: The instrument is now ready.

camera_alligned

  • Not OK: Misaligned
  • Check position of the projection screen.

camera_misalligned

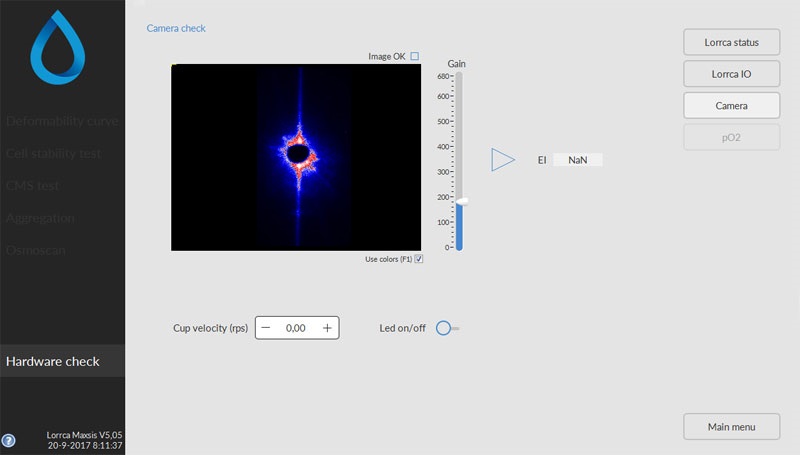
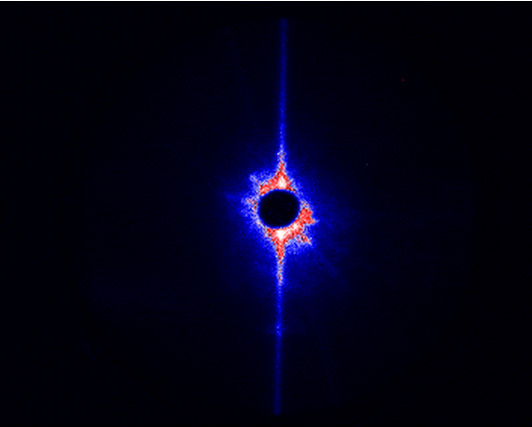
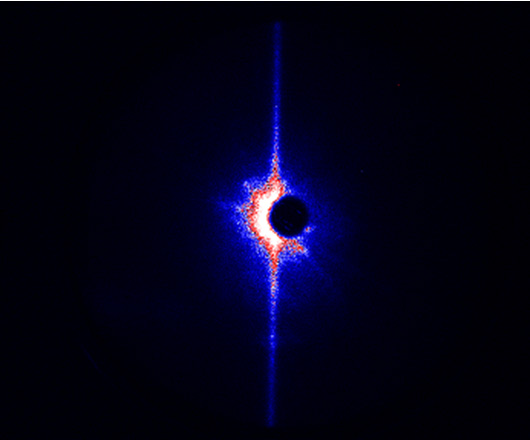
Alignment of the projection screen:

  • Use the hexagon key 2mm to loosen the projection screen holder.

alignment_projection_screen

  • Align the projection screen until the black dot on the screen is aligned with the laser spot. Note: The projection screen holder itself can also be adjusted (equipped with slotted holes)
  • Tighten the screws of the projection screen holder.

camera_alligned

camera_no_picture

  • Choose <LoRRca IO><Rinse cup> and confirm.
    The tubes are being filled.

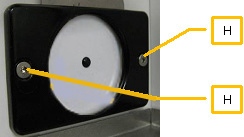
Dry BOB and CUP. Do not scratch the cup and do not touch the glass with your fingers to prevent staining! Pay attention to the hole in the BOB.

hwc

See Also

Adjustments and replacements

Replace the main fuses

Waste and rinse pump tube replacements

Tubing replacements

Preparation for long time inactivity

To top of page Mechatronics home Send Feedback Print